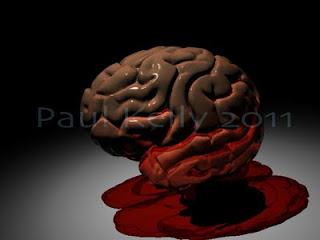
The Master's Research Project is in full gear. Yesterday I rendered out a series of images to test different lighting setups for my animation scenes. Shown here are a few of those tests, featuring the latest version of my 3D brain model. The first image shows the model rendered in Maya with a mia Mental Ray shader, which allows for some cool glass-like effects (Mental Ray is a rendering engine). I am experimenting with the possibility of showing the outer cortex with this glassy effect so that the internal structures are visible, however for now its still in the experimental stage.

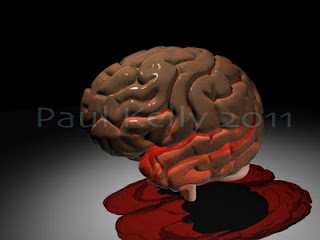
Here the brain is looking a little too dark, with only one light in the scene it's not a surprise. In this next image I've added a second light coming from the bottom right, opposite from the main "key" light which is shining from the top left. This second "fill" light exposes more of the model's form, but with a lower intensity setting and shadows turned off in the light's attributes, it doesn't detract from the main light source.

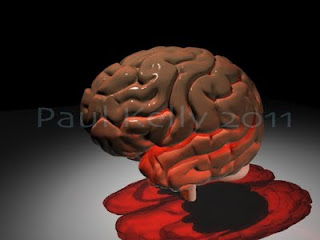
For the final touch, I added a third light in the scene for the sole purpose of producing caustics. Caustics are the refracted light elements that show up inside the shadows of a glass object. It's quite a process, and I certainly haven't mastered it yet, but the meager results I've come up with so far seem worth further investigation.

In this last image, I've switched to a different shader, the Mental Ray sub surface scattering (SSS) default. This allows for the light hitting the model to almost "sink-in" and appear to bounce around inside. In order for this shader to work correctly, I added another light directly behind the model so that it would shine through, otherwise the SSS effect wouldn't be as noticeable. I'm content with the lighting setup for now, so the next experiment will involve tweaking all the settings on the shaders and adding textures.


