Angled Rongeur bone cutters:

"Duckbill" Leksell Rongeur:

Same as above rendered in Maya:

Cloward Punch aka Kerrison Rongeur:

Saline irrigation syringe, Suction tube, Cobb instrument and Curette:

 I used both plastic and real bones as references. Often in illustrations, it is not always wise to rely entirely upon plastic models because light does not reflect off of plastic in the same way it does from real bones.
 Under the guidance of my professor Marc Dryer, who has some experience integrating the modeling capabilities of ZBrush with those of Maya, I made preliminary, low-resolution mesh models in Maya first, and then brought them into ZBrush. Pixologic has provided an excellent plug-in for just this purpose, GoZ. The GoZ can be configured to link up with Maya, Cinema4D or Modo to allow jumping back and forth between programs with the simple click of a button. I found that grouping multiple objects together in Maya was necessary to make sure everything aligned properly when it was sent to ZBrush, this was particularly an issue with the teeth...
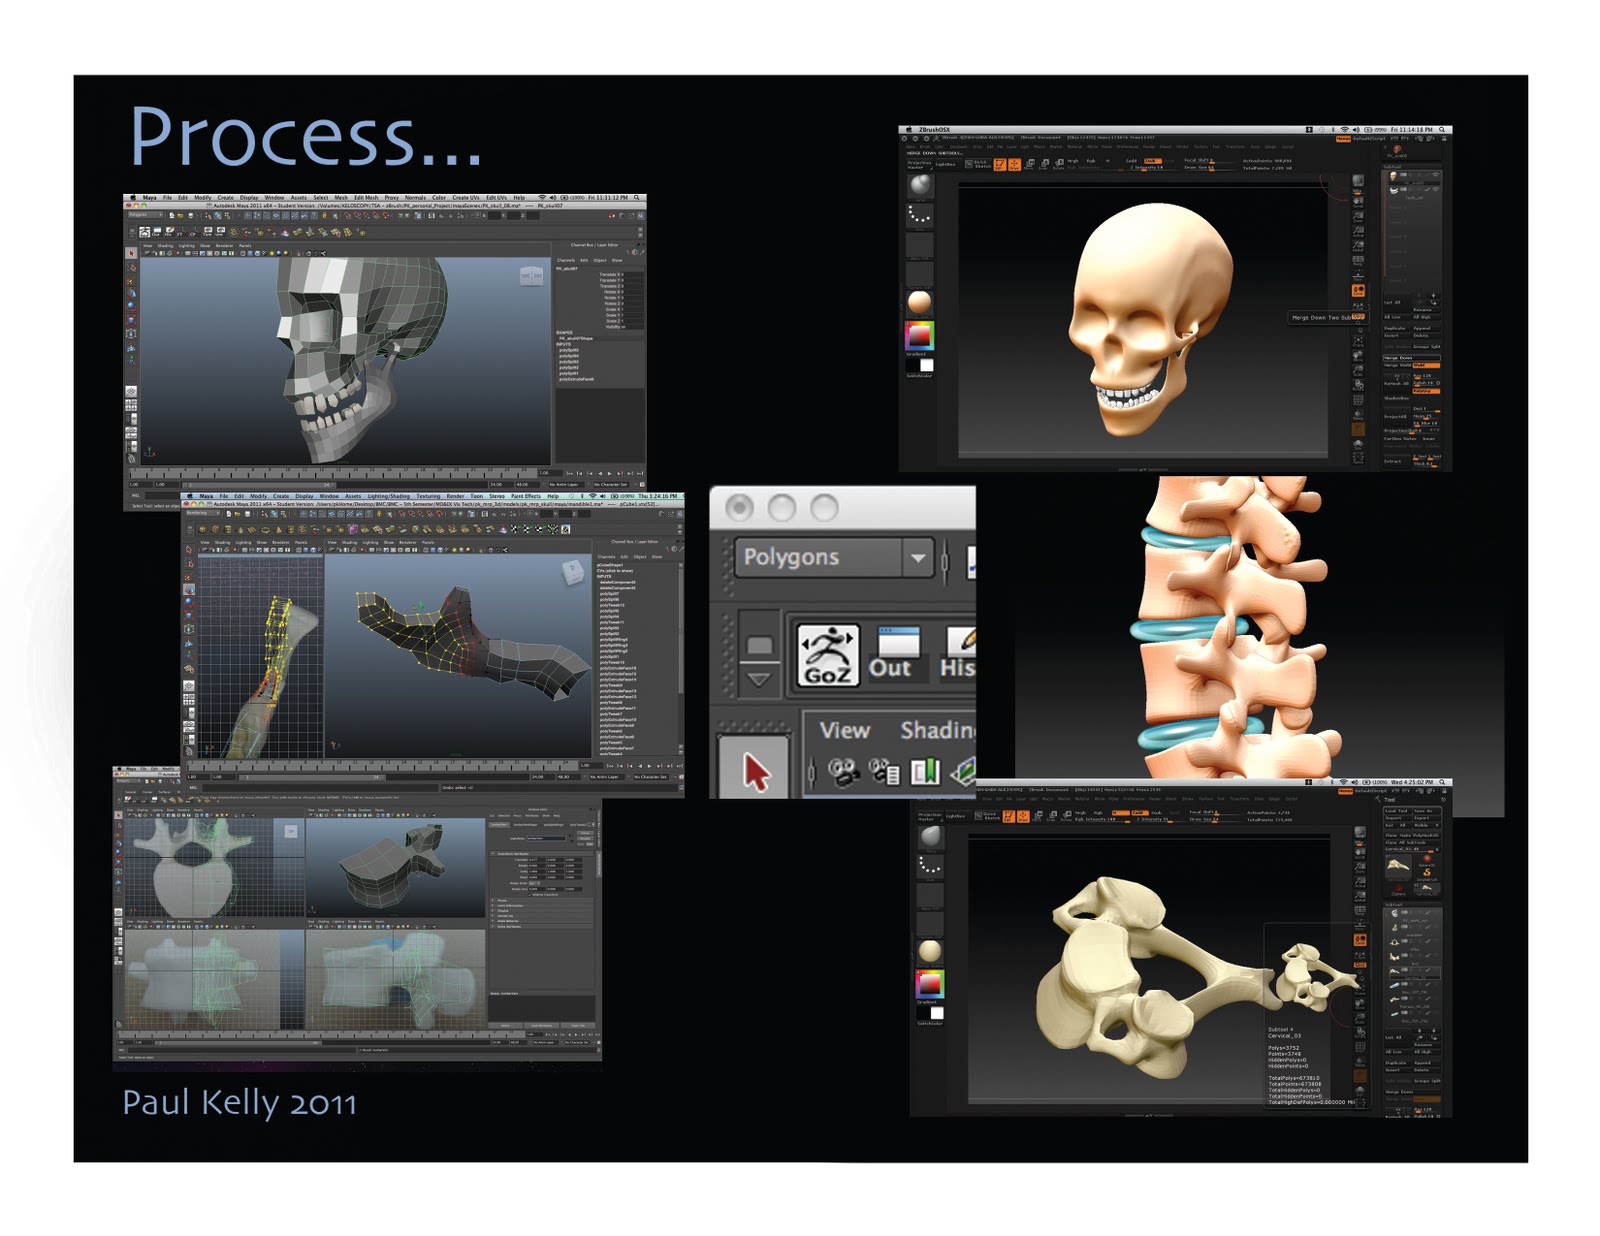

 Because I know that eventually I will be seeking approval of my 3D models from a surgeon who specializes in spine procedures, I tried to pay close attention to minor details such as the angles of the articular facets and the attachment sites for bones and muscles which are not present in this particular model...
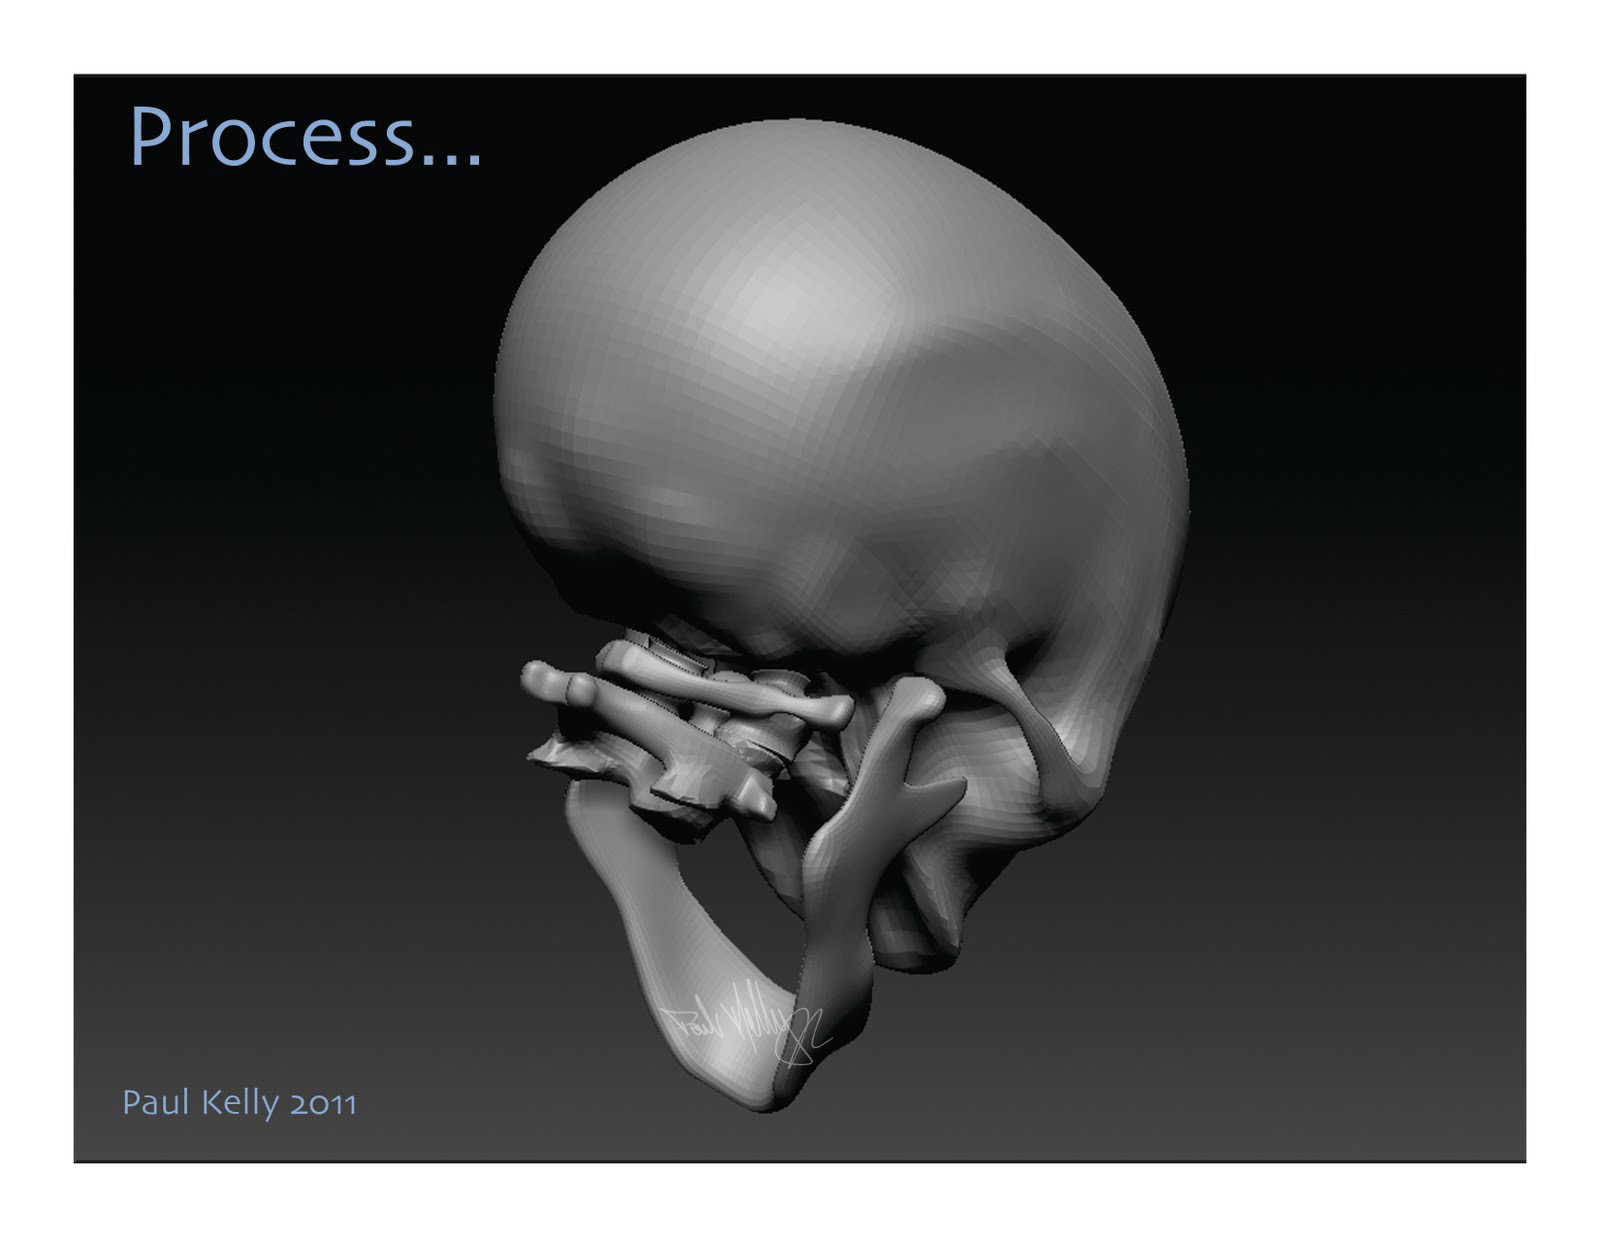 As I moved up in subdivision levels, I tried to go slowly, making sure every detail was accounted for at the earliest possible stage. The process shot below also betrays an important detail I have not yet attended to: the orbital fissures.
 While ZBrush does have a fairly decent bone material preset, I played around with making one of my own using the MatCap tool, new to ZBrush 4.0. I learned how to use this thanks to an excellent tutorial by Eric Keller. For any who seek to use ZBrush for scientific or medical work, Mr. Keller's tutorials are a must-see.


 These are my final submissions for the purpose of the TSA course, but I will continue to work on these models to fine-tune all the important details. And within a week, I will have a surgical scene set-up with the lumbar vertebrae and sacrum complete with joint capsules, ligaments, muscles, cauda equina and more...